FAQ
Time Clock
Log
Earnings Estimates
Exporting
Time Clock
A.
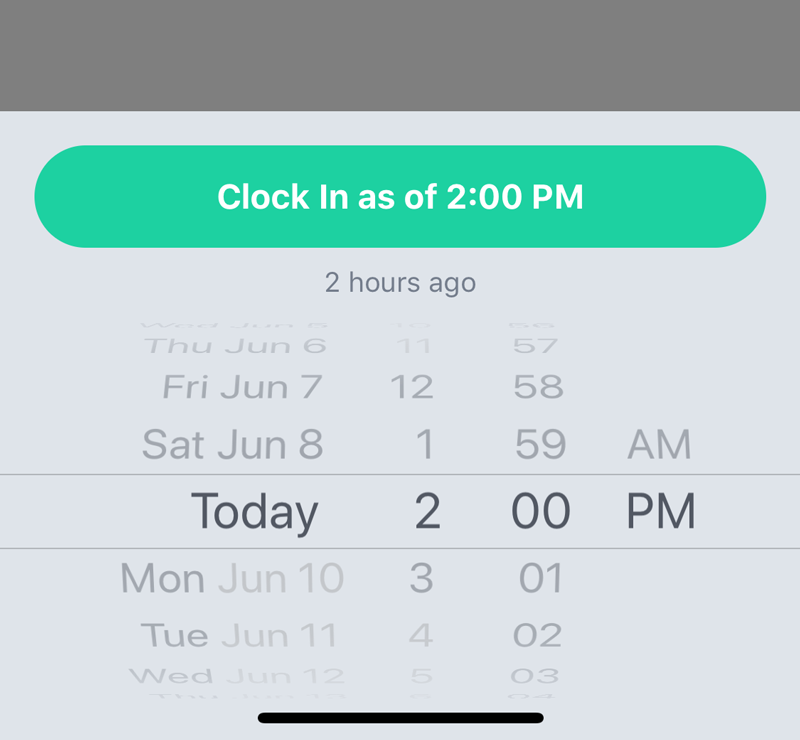
From the Time Clock home screen, tap the Start Clock At.. button.
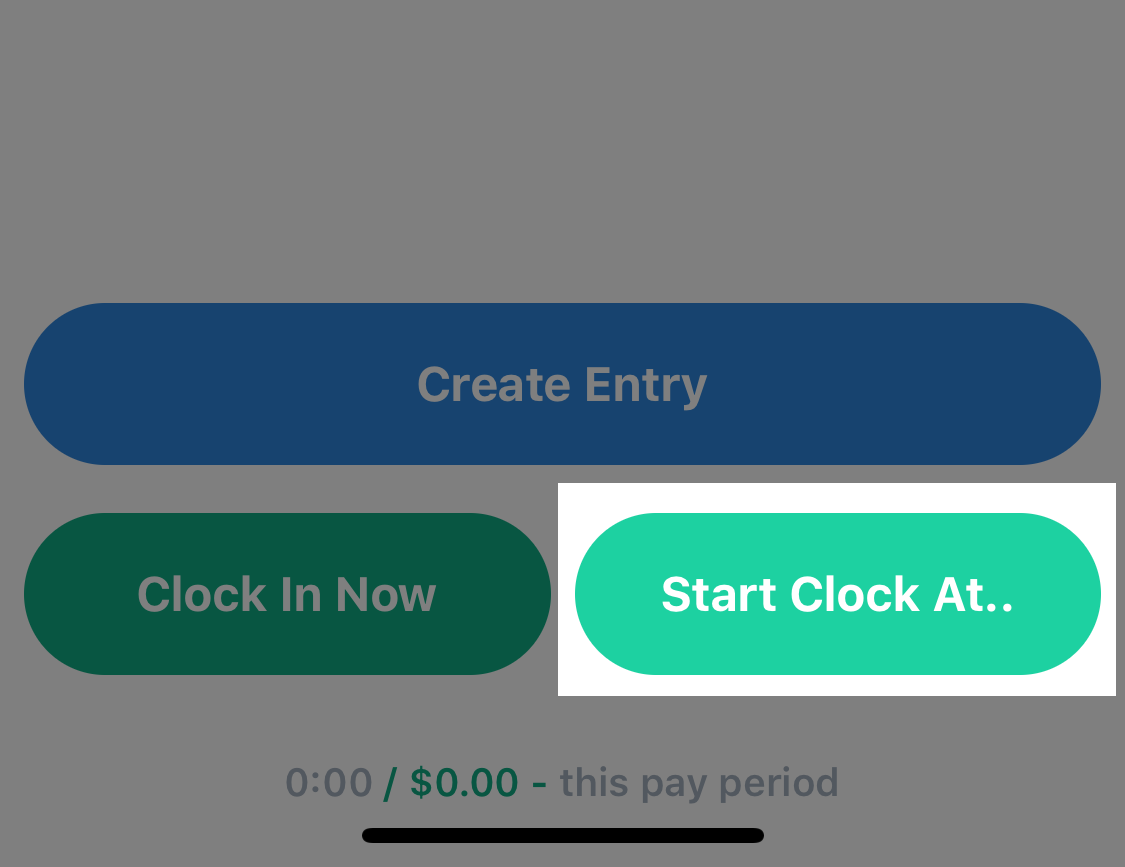
Choose the date and time you started working and tap the Clock In as of ... button.
A.
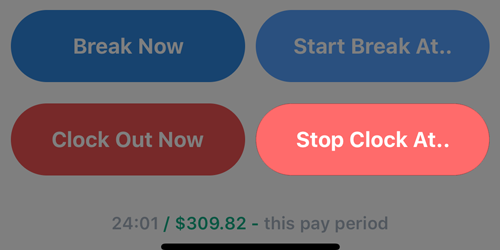
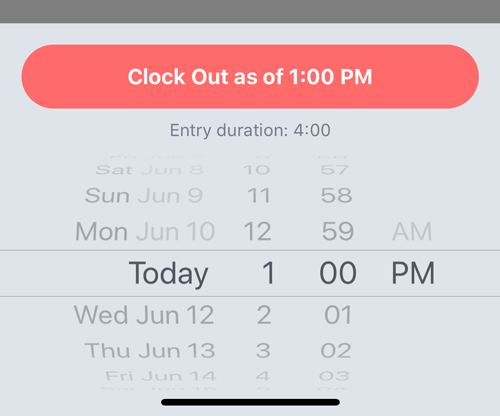
From the Time Clock home screen, tap the Stop Clock At.. button.
Choose the date and time you started working and tap the Clock Out as of ... button.
A.
Don't panic! From the Time Clock screen, simply hit the Start Break At.. button and choose the time your actually started your break in the popup. Now you're on break and can finish your break as your normally would.
A.
Of course! To edit an entry, head over to the log screen by tapping the calendar icon in the top-right corner of the Time Clock screen.
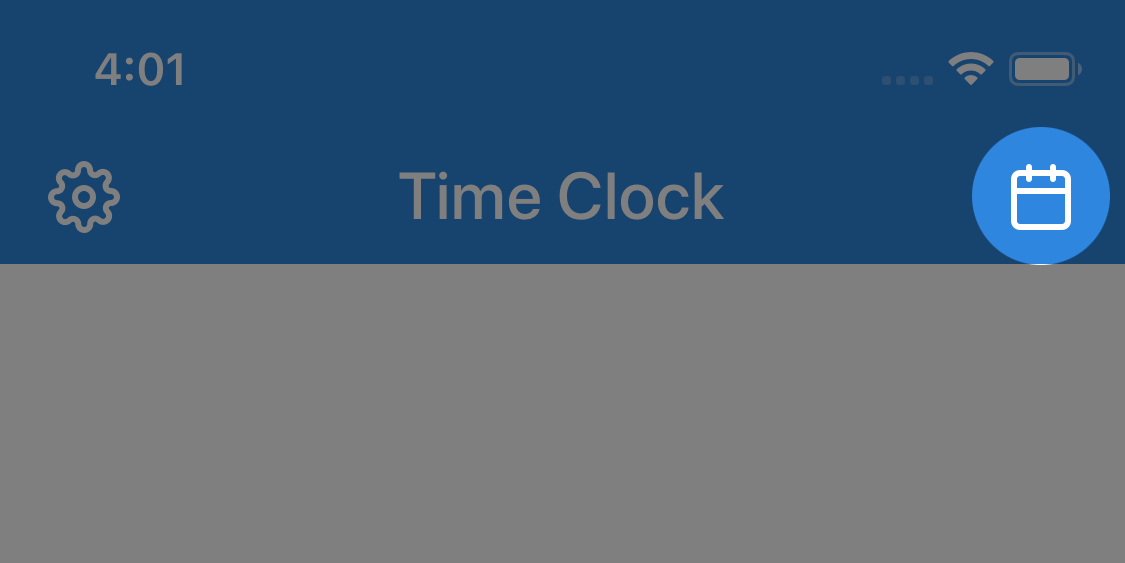
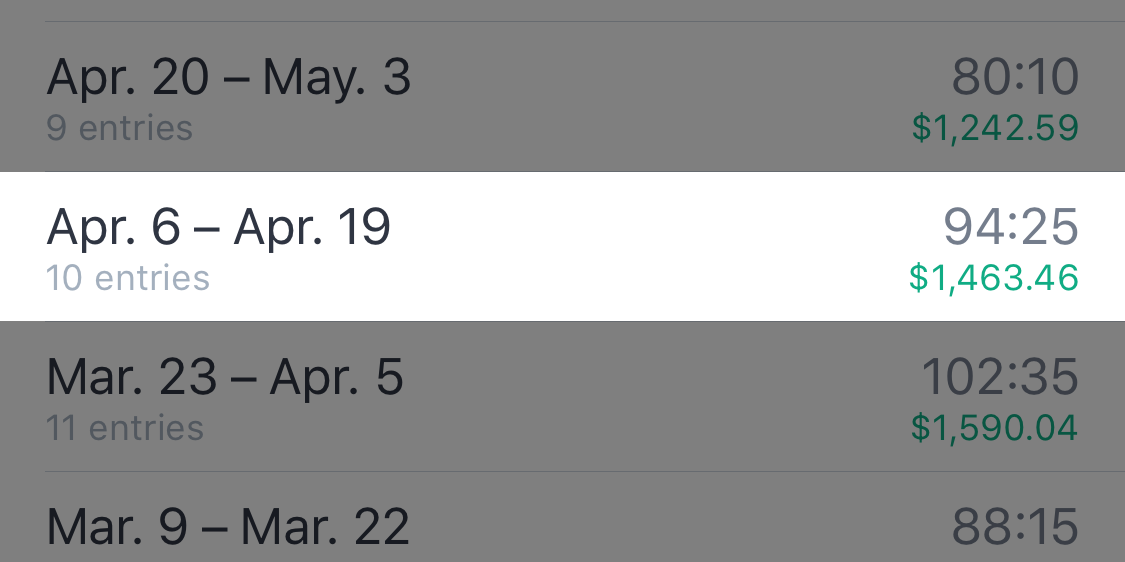
Select the pay period that contains your desired entry. This will expand the pay period into days.
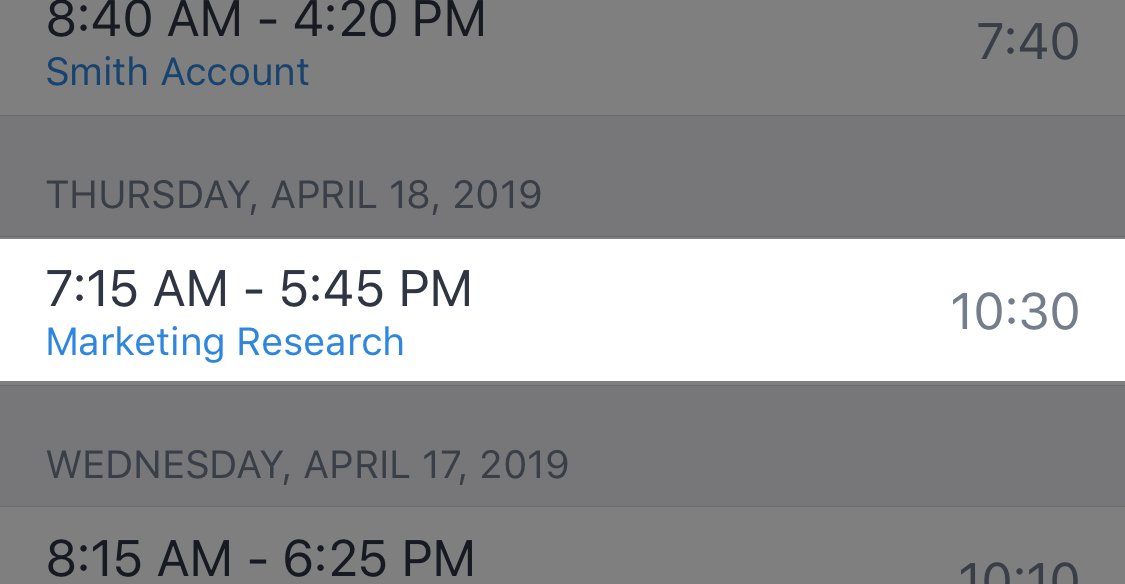
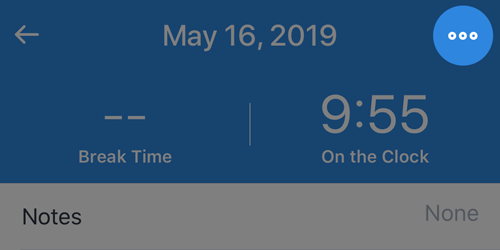
Now select the day in which the entry took place. This will bring you to the Detail screen, where you can edit your entry.
From the Detail view, you can change the dates and times of the entry as well as add or delete breaks, attach a label, or jot down some notes. Any changes you make in the Detail view are saved automatically, so you can go back at any time without losing any of your edits.

A.
There are two easy ways to create a new entry.
1. The first way is from the Time Clock screen. Assuming you're not currently clocked in, you'll see a Create Entry button. Tapping this will create a fresh entry and take you directly to the Detail screen in order to enter the start and stop times, as well as adding breaks if needed.
2. You can also create a new entry by tapping the blue floating "+" button in the bottom right of any Log screen.
Note: If you don't see a floating button at the bottom of your Log screen, tap the
 button in the top right. From the Log Settings popup you can toggle the
Show Floating Buttons
switch to re-enable them.)
button in the top right. From the Log Settings popup you can toggle the
Show Floating Buttons
switch to re-enable them.)

Log
A.
Tap the
button in the top-right corner of any Log screen.
Toggle the Hide empty periods switch to either hide (enabled) or show (disabled) empty pay periods. Tap Apply and the changes will take effect immediately.
A.
You can delete an entry from the Expanded Period screen (that breaks down a pay period into individual days, showing the entries each day contains). Simply swipe from right-to-left to reveal the Delete button.

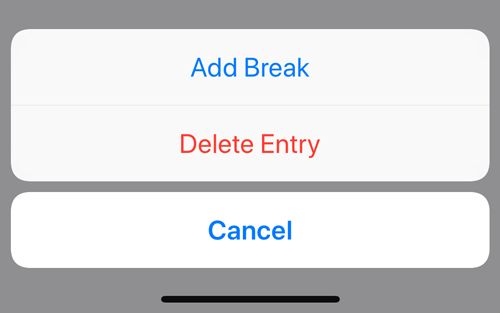
Another way to delete an entry is from the Detail screen (where you edit entries). Tap the
 button in the top-right corner of the screen.
This will display a menu giving you the option to either Add Break , or Delete Entry .
A.
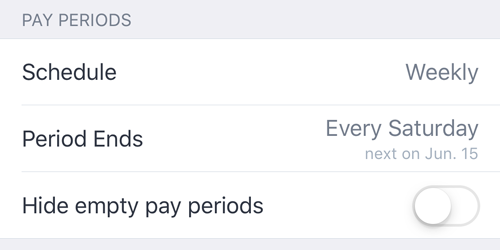
Week numbers can be displayed when your pay period is set to Weekly with the period ending on Saturday . (Other pay schedules would overlap week-of-years and not make sense to show week numbers.) To adjust your pay schedule, navigate to the Settings screen and change the Schedule & Period Ends values.
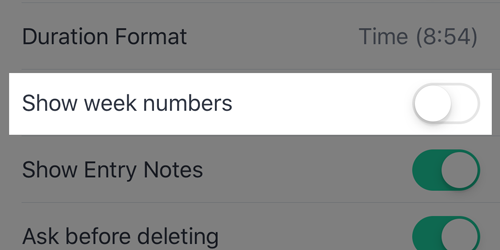
After your pay period is set to Weekly Mon-Sat , you can toggle on the Show Week Numbers switch found in the Preferences section of the Settings screen.
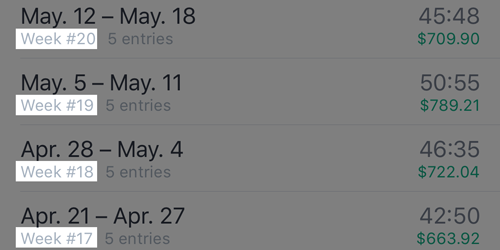
You'll now see week numbers displayed in the Pay Periods log screen.
A.
Nope. There is absolutely not limit to the amount of entries you can store.
We do our best to keep Punch as lightweight as possible, and we've gone to great lengths to ensure that entry data takes up as little space as possible on your device. You could theoretically store 100,000+ entries with only nominal impact on your device's storage space.
Earnings Estimates
A.
As well as showing the total number of hours you've worked each pay period, Punch can estimate your paychecks. These estimates will be shown in the Log view directly beneath the duration labels.
To enable this feature, pop over to the Settings screen and scroll down to the section titled Earnings . Toggle the Show Earnings switch to the ON position. In the rows below that switch you can enter your hourly pay rate, overtime rules, and optional taxes/deductions to be subtracted from your gross income.
A.
Setting your pay period is important for Punch to accurately calculate your time-worked as well as estimate your paychecks if you've upgraded to the Pro version.
You can configure your pay periods in the Settings screen under the Pay Periods heading.
-
First, select the
Schedule
that best fits your current pay frequency. The supported schedules are:
- Weekly
- Every two weeks
- Monthly
- Every four weeks
- 1st & 16th of every month
-
Next: In the following row, enter the date
your last period
ended
.
For example:- If today is Tuesday June 11, 2019
- You're paid every two weeks on Fridays
- Your last pay period ended last Friday June 7, 2019
- You would enter June 7, 2019
A.
Navigate to the Settings screen , and find the section titled Earnings . In the row labeled Pay Rate enter the dollar amount your are paid for a full hour's work.
Note: Do not include any symbols such as '$'. Only numbers and a single period are allowed.
After changing your pay period in this screen, the earning estimates will be automatically updated throughout the app.
A.
Earnings Estimates are calculated by multiplying the number of hours worked against your hourly pay rate and subtracting the percentage specified as taxes/deductions. Of course, if you have overtime enabled, straight time is calculated as normal with any hours exceeding the set daily or weekly thresholds multiplied against the corresponding overtime pay rate. (Note: Hours are only elibigle to be paid at a single rate, preventing any "double-dipping" into both daily and weekly overtime.)
Example:
Consider this example: Fred is paid weekly with the workweek ending on Saturday. He is paid $10/hour with time-and-a-half after 8 hours per day, and double-time after 40 hours in a week. His employer witholds an average of 15% from each paycheck for taxes, social security, etc.
Configuration
- Pay schedule : Weekly, ending on Saturdays
- Hourly pay rate : $10.00
- Daily overtime : 1.5x after 8 hours in a day
- Weekly overtime : 2x after 40 hours in a week
- Deductions : 15%
Hours worked:
- Sun : 0 hrs
- Mon : 8 hrs
- Tue : 9.5 hrs
- Wed : 8 hrs
- Thurs : 10 hrs
- Fri : 12 hrs
- Sat : 6.5 hrs
Breakdown
Fred worked a total of 54 hours this week. He reached the daily overtime threshold (8 hrs) on Tuesday, Thurs, and Friday for a total of 7.5 hours eligible for the daily overtime rate of $15/hr. He worked well over the 40 hour weekly overtime threshold, so we need to calculate how many hours are eligible for double-time. To calculate this, we take the number of hours past the 40-hour mark (14) and subtract the hours already being paid at the daily overtime rate (7.5). This leaves us with 6.5 hours eligible for weekly overtime pay. Now we can plug the numbers into our earnings formula.
Formula
[ ( H × R ) + ( H d × ( R d × R )) + ( H w × ( R w × R )) ] - D = E
[ ( 40 × $10.00 ) + ( 7.5 × ( 1.5 × $10.00 )) + ( 6.5 × ( 2.0 × $10.00 )) ] - 15% = $546.13
H
- Straight hours worked
H
d
- Daily overtime hours worked
H
w
- Weekly overtime hours worked
R
- Hourly pay rate
R
d
- Daily overtime pay rate
R
w
- Weekly overtime pay rate
D
- Deductions
E
- Earnings
Exporting
A.
You can reach the Export screen a couple of different ways.
One way is by hitting the
Export
button found in the
Settings screen
or by tapping the orange
 button floating in the bottom left corner of any Log screen.
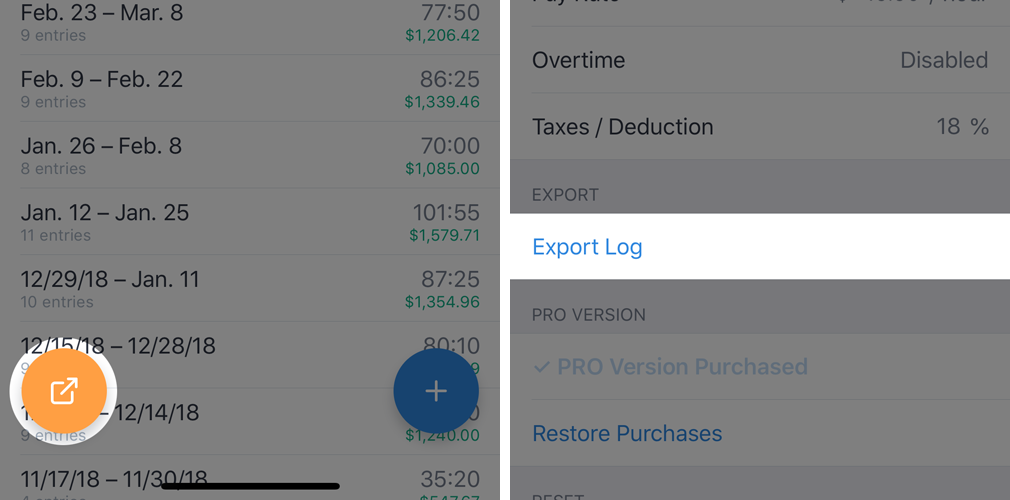
If you have the floating buttons hidden, you can easily get them back by tapping the
button in the top right of any Log screen and toggling the Show floating buttons switch.
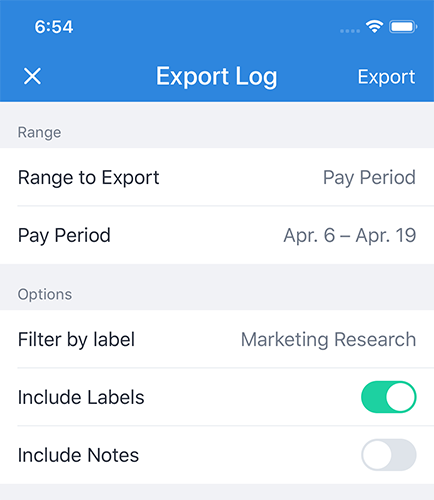
Once in the Export screen you can customize the exported data with the following options:
- Allow entries from a specific date range (Pay Period, Year, or Custom)
- Filter by label
- Show/Hide labels on the report
- Show/Hide notes on the report
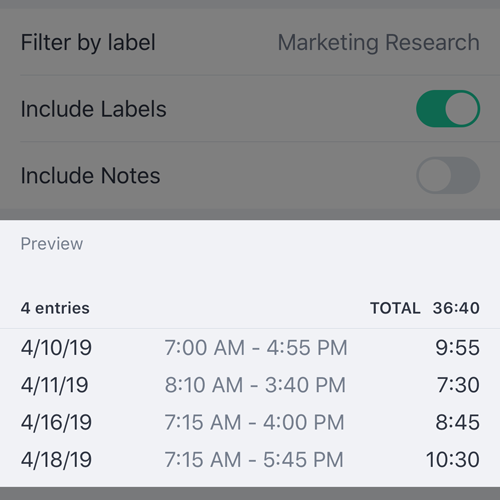
As you adjust the export settings, a live preview is shown at the bottom of the screen displaying the entries that match the current criteria.
Once you're satisfied, tap the Export button in the top-right of the screen. Punch will then generate the export and open a window with a newly composed email. In the body of the email you'll find the finished export organized in a nicely formatted table. The app also attaches a CSV file which can be open with spreadsheet applications like Excel and Numbers or can be imported into record-keeping software.
You'll need to fill in the to and from fields with your recipient's and your email address respectively. Of course if you intend to simply send it to yourself, you would enter your email in both fields.
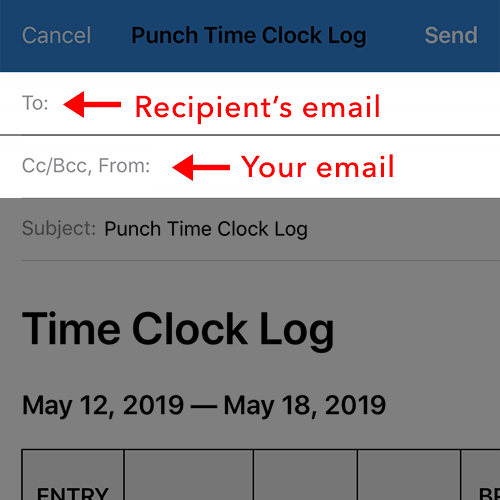
All that's left is hitting Send in the top-right corner and you're good to go!
A.
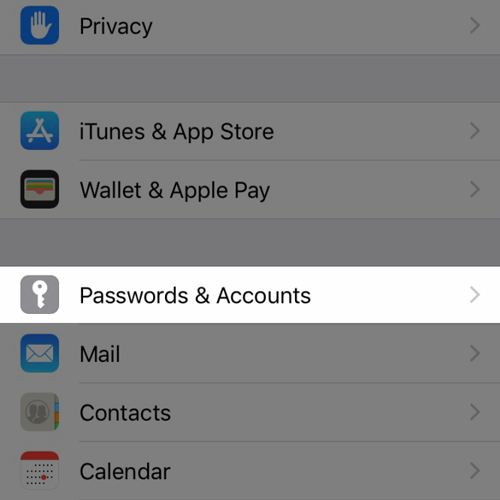
Verify that your device's email settings are correct and up-to-date:
- Go to Settings > Passwords & Accounts
- Check that your email provider is listed under Accounts . If it's not listed, add your account by tapping Add Account .
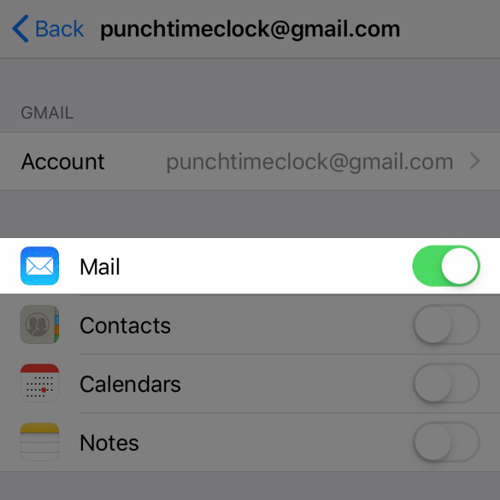
- If your email provider is listed, tap it, and on the next screen verify that the Email switch is enabled.
- Double check that your sign-in credentials are valid and if iOS is displaying any alerts regarding failed authentication.
- Gmail : tap your email address in the Account row to access your account information.
- iCloud (@icloud / @me): scroll to the bottom of the page and choose Mail under Advanced . Verify that the email address you want to send from is enabled under Allow Sending From .
- IMAP & POP : tape your email address in the Account row under IMAP (or POP) section heading. This will allow you to edit your incoming and outgoing servers and authentication.
- Check that your out-going mail server (SMTP) is entered correctly based on your email provider's recommendations.
After fixing any of the mentioned issues involving your email account, be sure you have an active WIFI or cellular connection , as it is impossible to send the export send email while offline.